
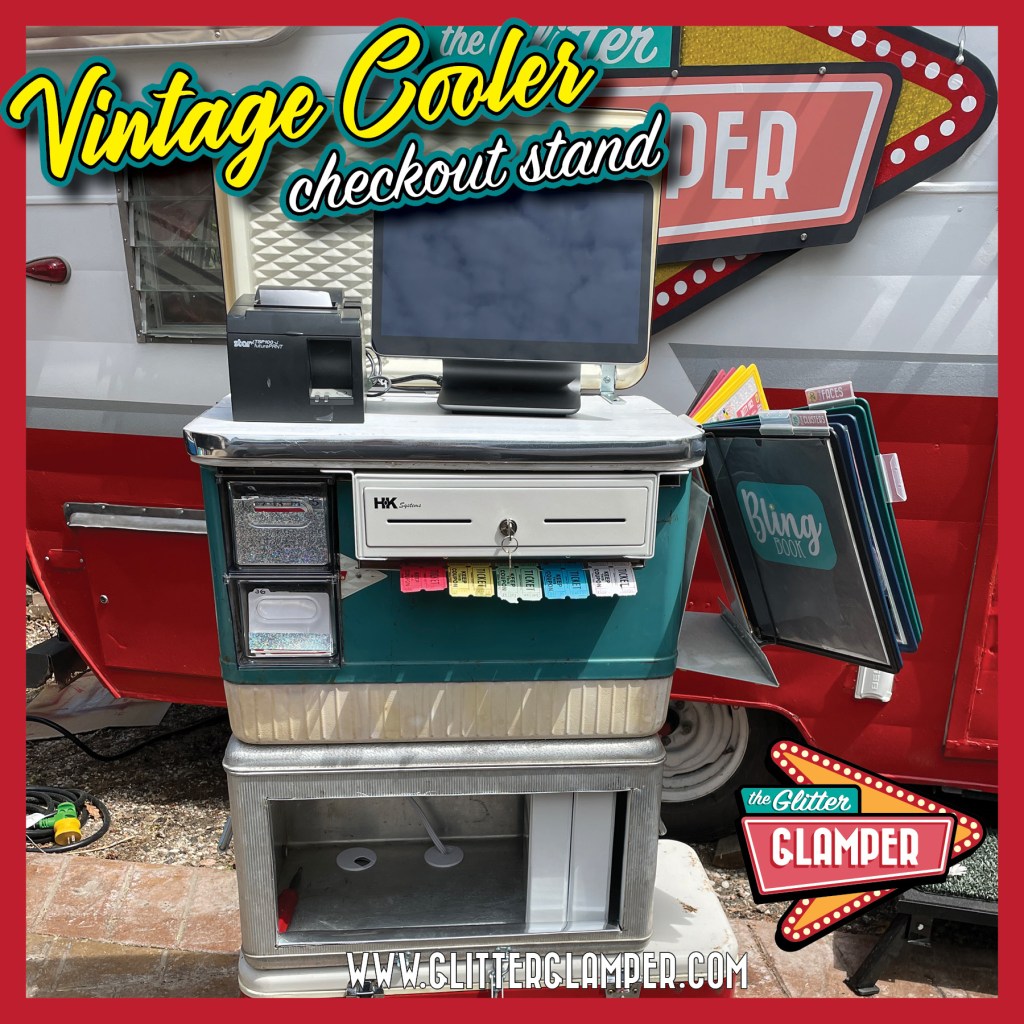
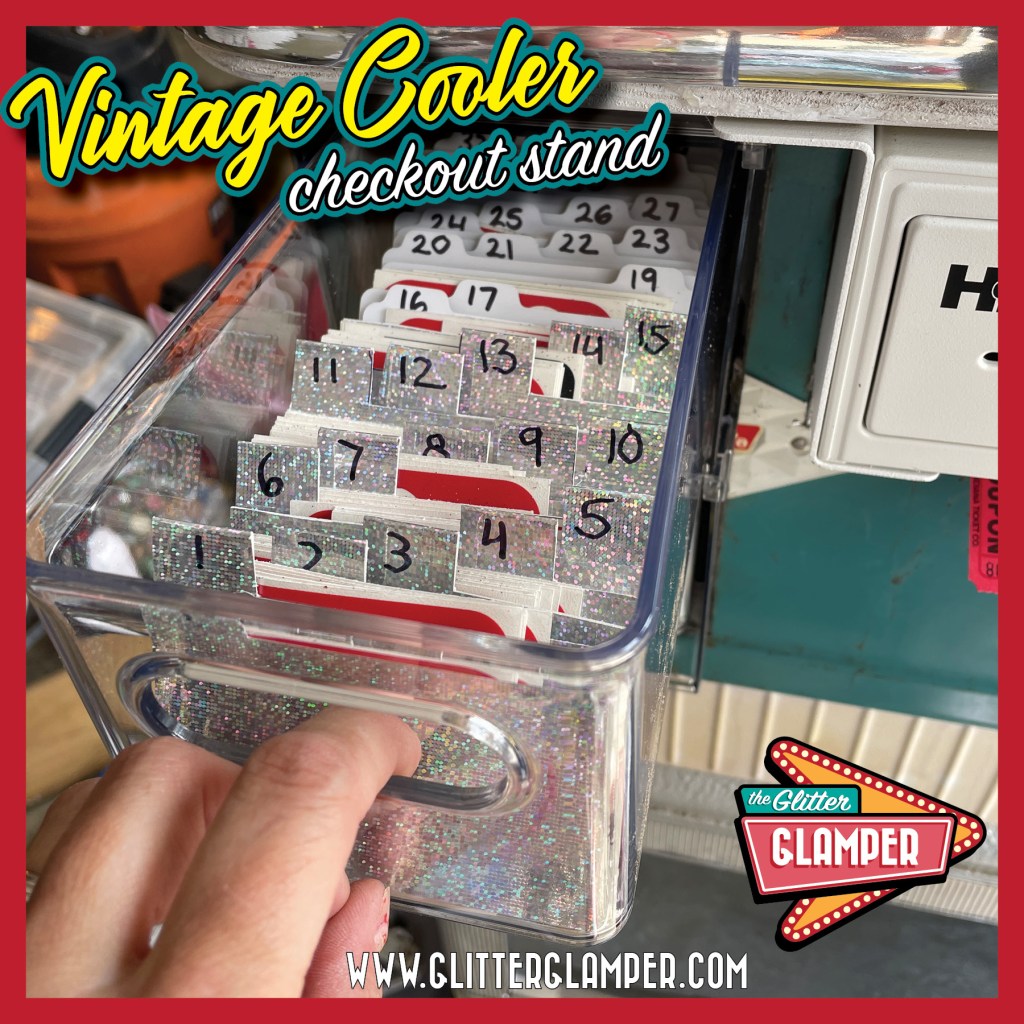
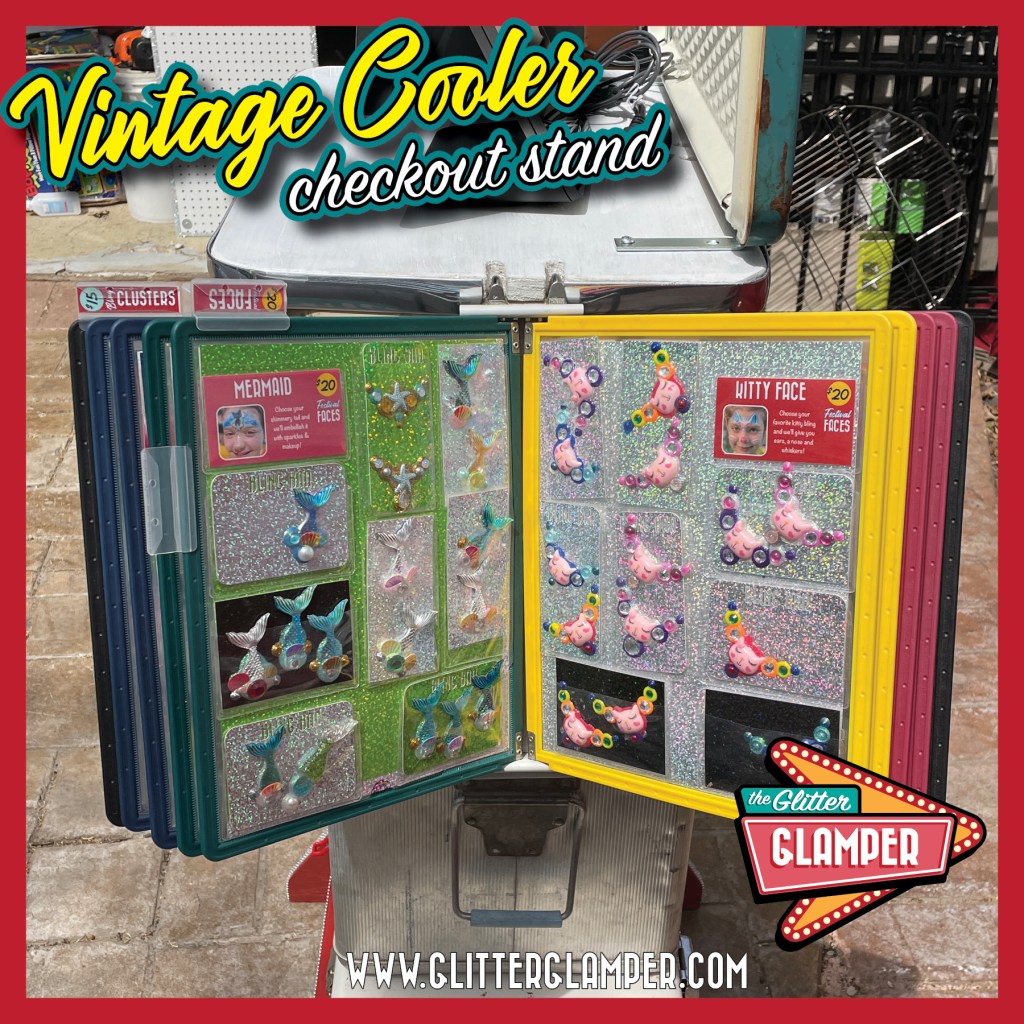
When I found out that the Glitter Glamper was going to be setting up glamp on the Minnesota State Fairgrounds this past spring for their Kickoff to Summer, I had to come up with an outdoor checkout stand display. Yes, I already had a heavy duty retail cashwrap tucked away in my storage trailer, but I knew that the MDF would not be able to withstand things like rain without swelling up. Determined that the Glamper just canNOT have a boring, “normal” display, I set out to build one out of something made for weather AND glamping: vintage coolers! Besides being weatherproof, this display had to be smaller than my sprawling state fair checkout from 2021. This meant I had to put together the checkout, tickets, tattoo stencils, bling display and storage into one small footprint that could also break down and fit inside the small Glamper door for transport!
In case you’re wondering, I do have a degree in Industrial Design and spent several years working as a retail display designer, so this was all right up my alley. I already had one vintage cooler on hand that we weren’t using, the aluminum one in the middle. I found a red one and a teal one on Facebook Marketplace and set up a day to drive across town to pick both of them up and get to work!
Yes, it was a little painful for me to saw holes in these, but in the end I am very happy with how the whole thing turned out, and was happy to rescue these beauties from the landfill and give them a totally new and exciting life! These coolers got SO much more love and attention being admired by fairgoers this past summer than sitting in someone’s dusty garage, and they really do look right at home in the Glampsite!
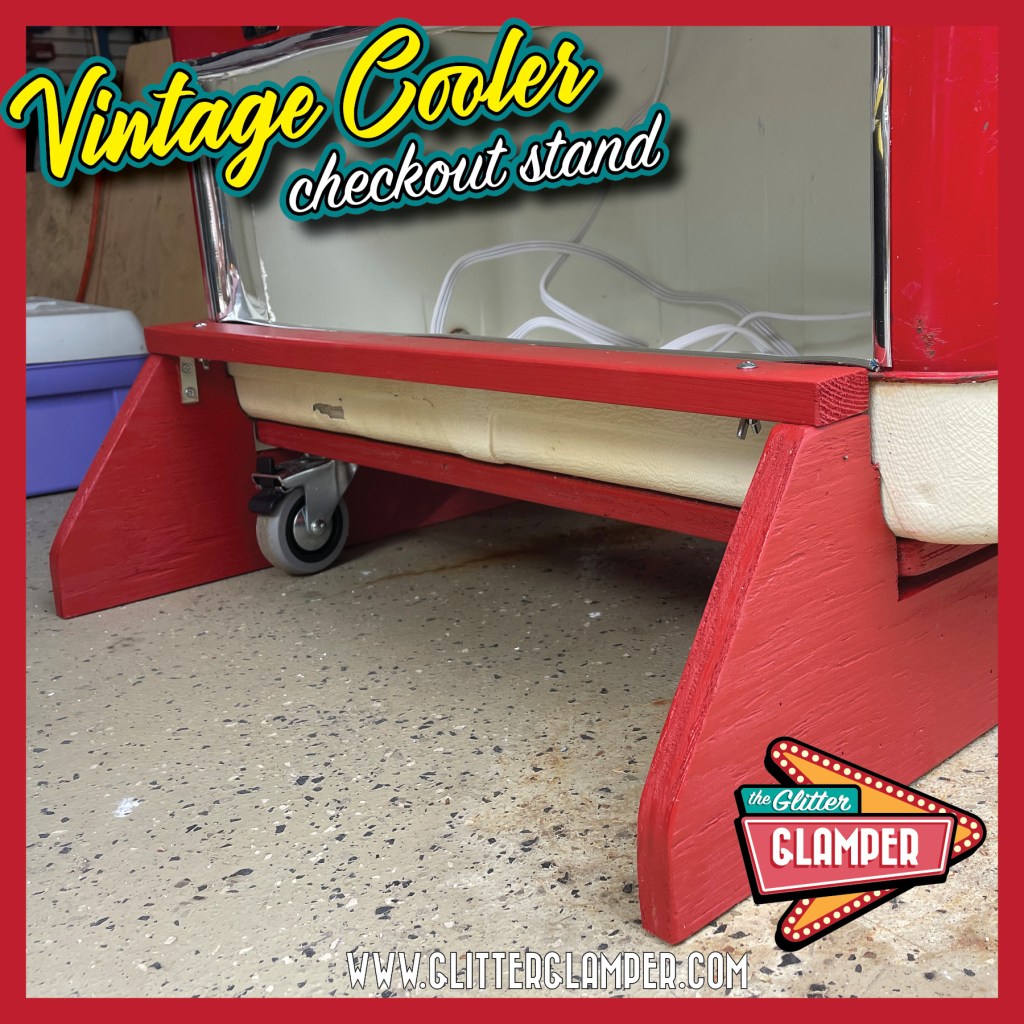
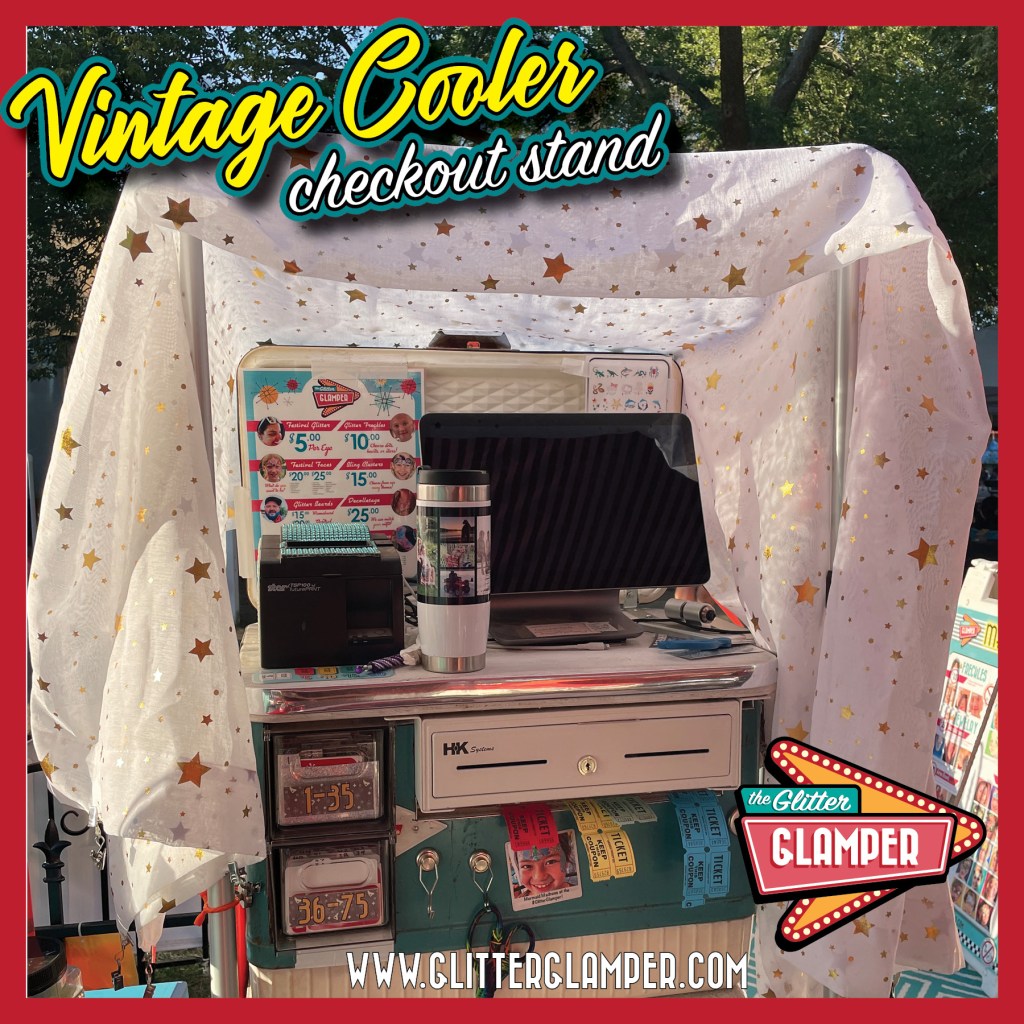
The top two coolers stay fixed to each other, but they easily unhook from the bottom cooler, so I can easily break it apart and fit the whole thing inside the Glamper trailer for storage and transport.
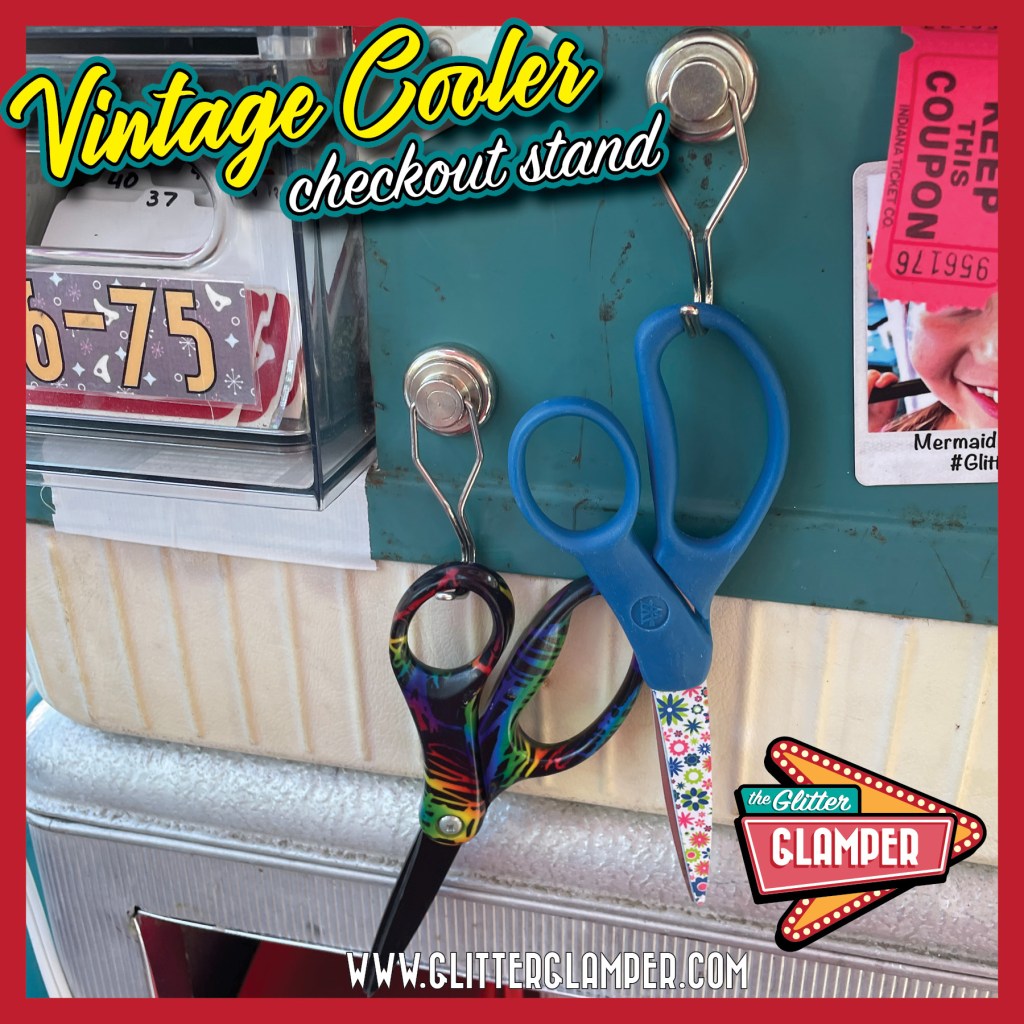
This display worked great this year! The steel surface of the top teal cooler really came in handy for displaying my polaroid photo magnets, but I also took advantage of that and used magnets to attach the ticket jar to the side, and added magnetic hooks for scissors. (The ticket jar usually sits ON the counter, but moving it to the side freed up valuable space! Scissors are used for cutting apart temporary tattoos we do for the kids 3 and under.)

For next year, I’m thinking about possibly adding some sort of curtains across the cubby openings just for aesthetics. I’d also like to incorporate some sort of solution to protect the register from sun and rain. I currently use some clip-on umbrellas that work great around the booth, but I didn’t have a great spot to clamp one onto this display, so I had to wing it on the spot. I did purchase an instant pop-up changing tent from Amazon, and that worked perfect to quickly cover the whole display but still keep it functional when it sprinkled!

Be sure to check out my time lapse video on YouTube to see the full display in all it’s glory, or if you’re curious about the build process!
