
This past weekend I finally finished a huge undertaking for the Glitter Glamper! Earlier in the summer I decided I needed to create a little graphic for my business that could hang in the tall, narrow space between the Glamper door and window. (This is the wall that customers will face while sitting in my chair getting glittered up!) However, I didn’t want to plaster my charming trailer with printed graphics, so I thought something hand made would blend better with the charm of the Glitter Glamper. I ultimately decided to create a cross stitched wall hanging! I mean, we see billboards and advertisements everywhere, but how many of them are hand stitched on glittery cross stitch fabric?! Am I right?

I hadn’t done cross stitch since I was probably in elementary school or Jr High. But, I went to the craft store and when I found a roll of not just cross stitch fabric but SPARKLY fabric, the deal was sealed! I dug out my old stash of floss and added some new metallic red floss, and set to work creating a pattern. I basically created a grid in Adobe Illustrator to match the size of the wall space I had to work with, sized to fit the grid size of my fabric. I dropped that into Photoshop, and placed my logo and illustrations on the layer beneath. I then set to work meticulously filling in each teeny square with the paint bucket to match the logo underneath. It was tricky to get the lettering right, but in the end I came up with something that would work, and started stitching!

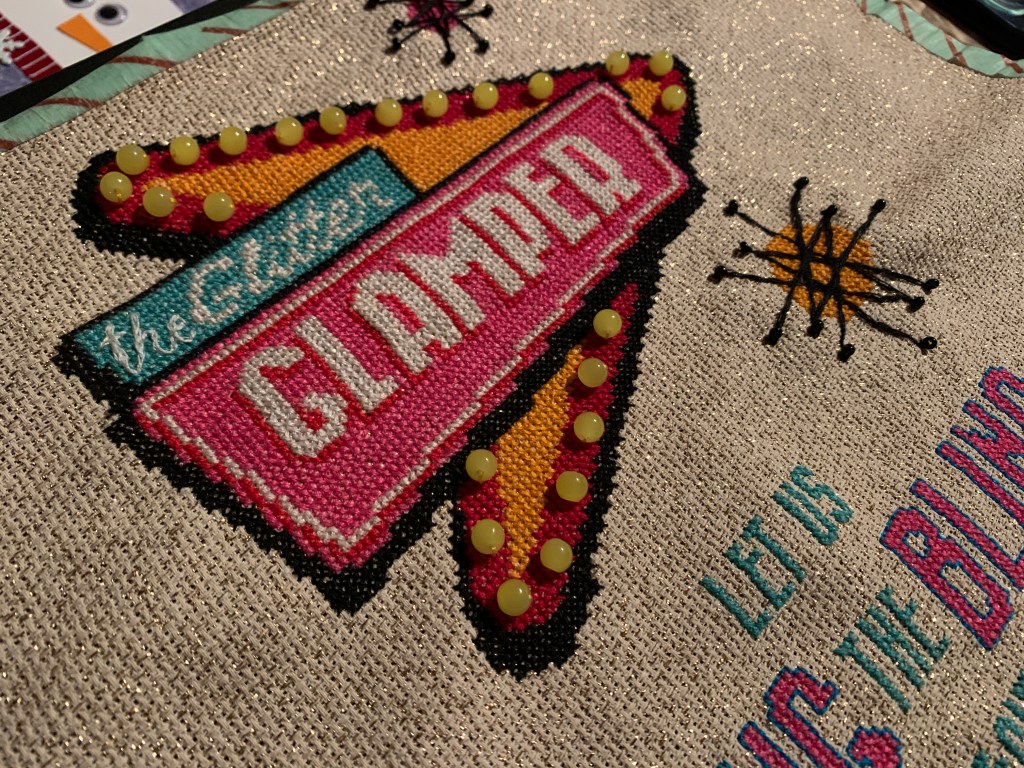
I am certain I’ve spent easily 150 hours on this project in all. It kept me busy on many camping trips last summer, and in front of the tv this winter! I finished it off this weekend with some beads, glittery ribbon, and made some glittery dowels to hang it from.
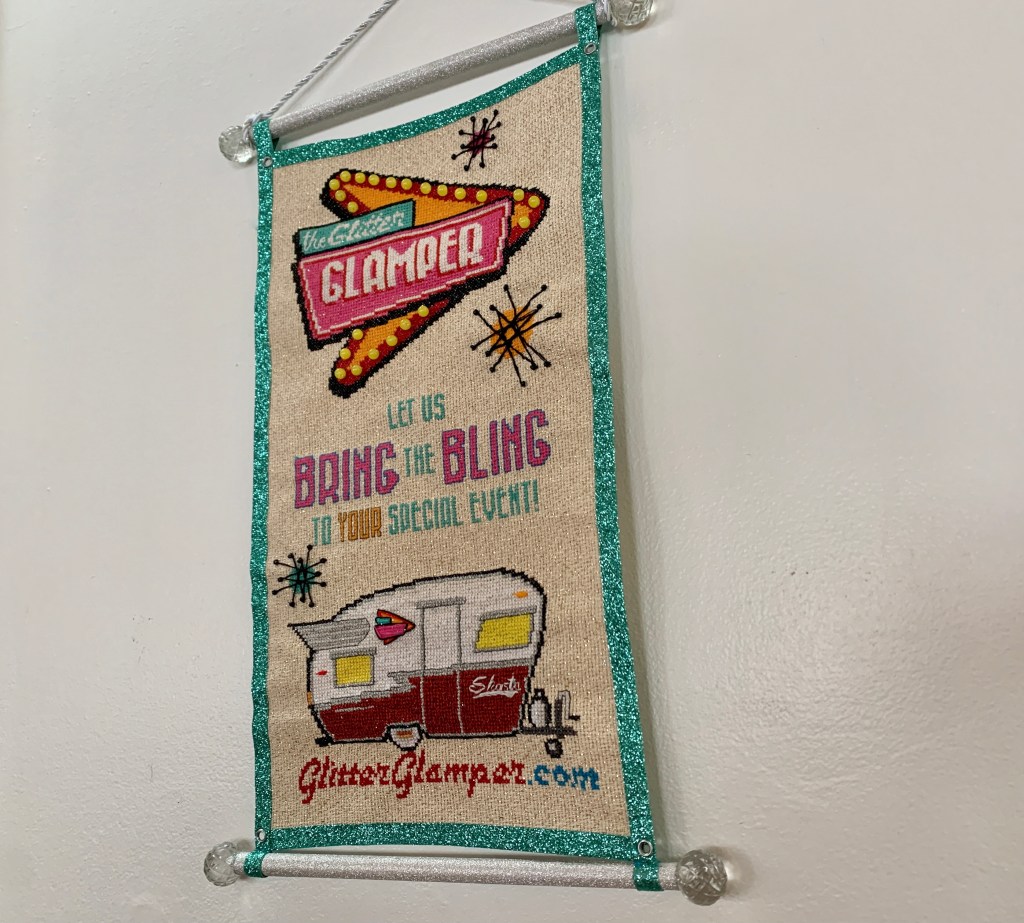
I can’t wait to get back into the Glamper and hang this in it’s place! Fingers crossed all my measurements worked out!
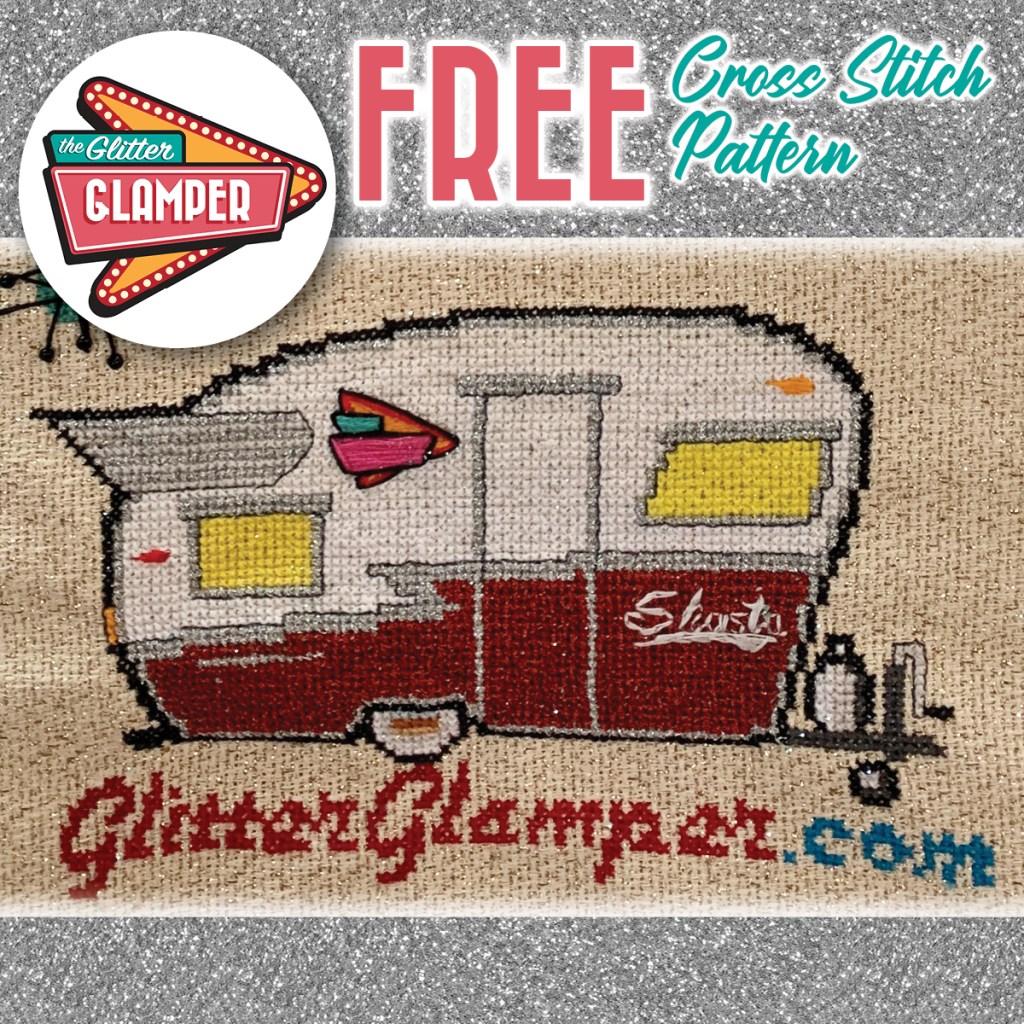
Anyway, it occurred to me that there may be other Shasta owners or vintage trailer lovers out there who also love to cross stitch and might like to recreate just the camper part. SO, I have taken it upon myself to create a pdf of this pattern for you! PLEASE keep in mind that when I created this, I had zero intentions of anyone seeing or using it beyond me creating my piece. I don’t have all the measurements and floss colors listed and all that…just a grid and an image. If you feel this is enough for you to create something, please do and have fun!! My only request is that you use it only for your personal use (please don’t try to sell something I’m giving you out of the goodness of my heart!), and that you share what you’ve created with it by tagging us on social media! You can find us on Facebook and Instagram @glitterglamper. Click on the pattern below to get a pdf!
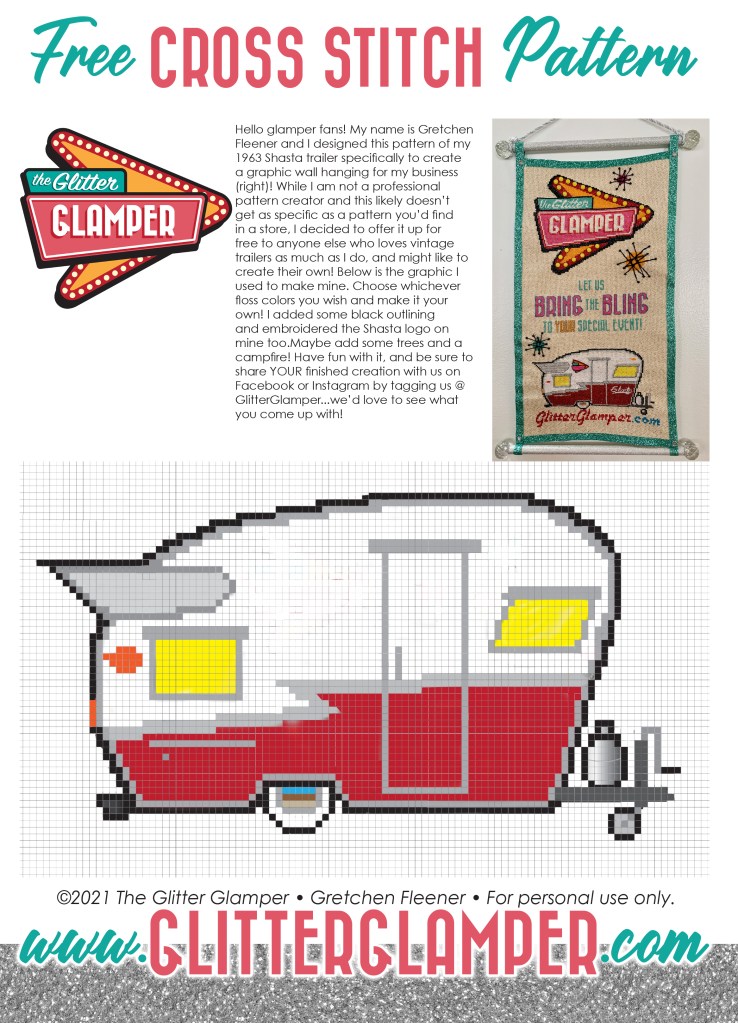
I did do a little bit of black outlining that you can see in the photos above…outline whatever you wish! I also decided to add a slight variation of grays in the fins, alternating rows of gray and lighter gray. I used a metallic red floss for the red part, which was really a challenge to work with, but turned out extra sparkly that way!
This was a really fun project and a lesson in endurance and patience! It also made me realize how bad my eyes are getting now that I’m in my 40’s, haha! But, I figured if there’s anything Covid has given me, it’s time…so I am going to spend it taking my time making the Glamper awesome for my clients to enjoy, once events start to return! If you’re interested in booking the Glitter Glamper for your special event in the Twin Cities, check out our website for more info or to request a quote!
Sparkle on, friends!
