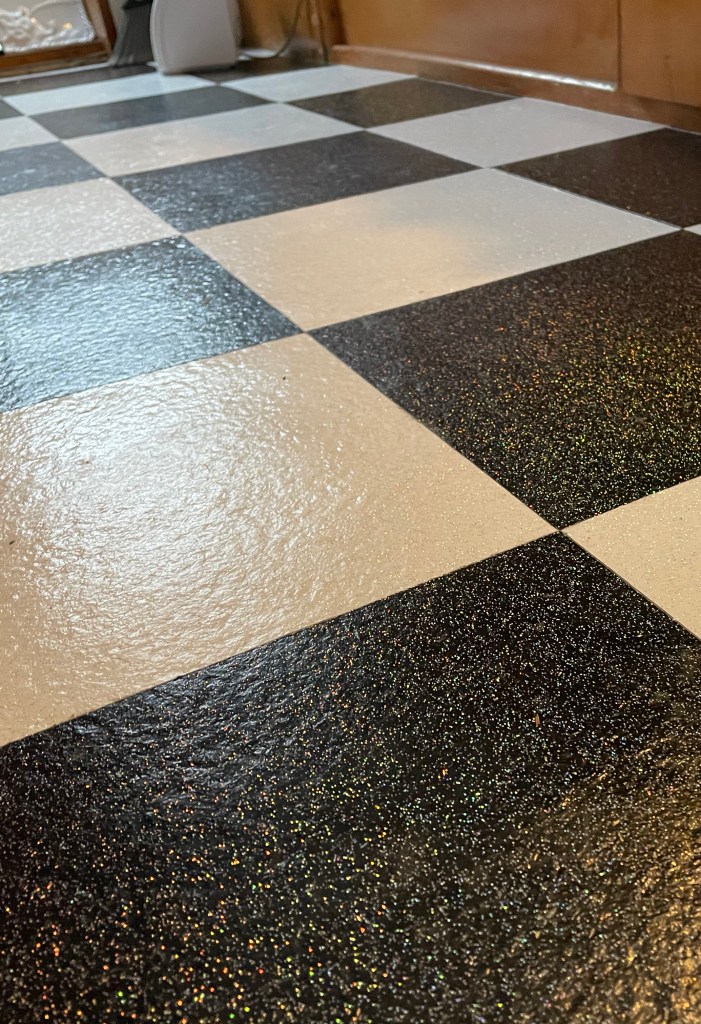
I’m SO very excited to have finally installed my new, sparkly floor in the Glitter Glamper! Just acquiring the tiles was a multi-month process of searching and ordering samples. I almost settled for one that was “kindof” glittery, with mica flecks in it…but then I finally found one that I LOVED, but they were manufactured in Canada and only for commercial customers. Luckily I was able to find a super nice sales rep right here in Minneapolis who was willing to have my tiny order shipped to their warehouse for me to pick up! (THANK YOU, Noah!!) And, even with shipping from Canada it ended up being cheaper than the one I only kindof liked.
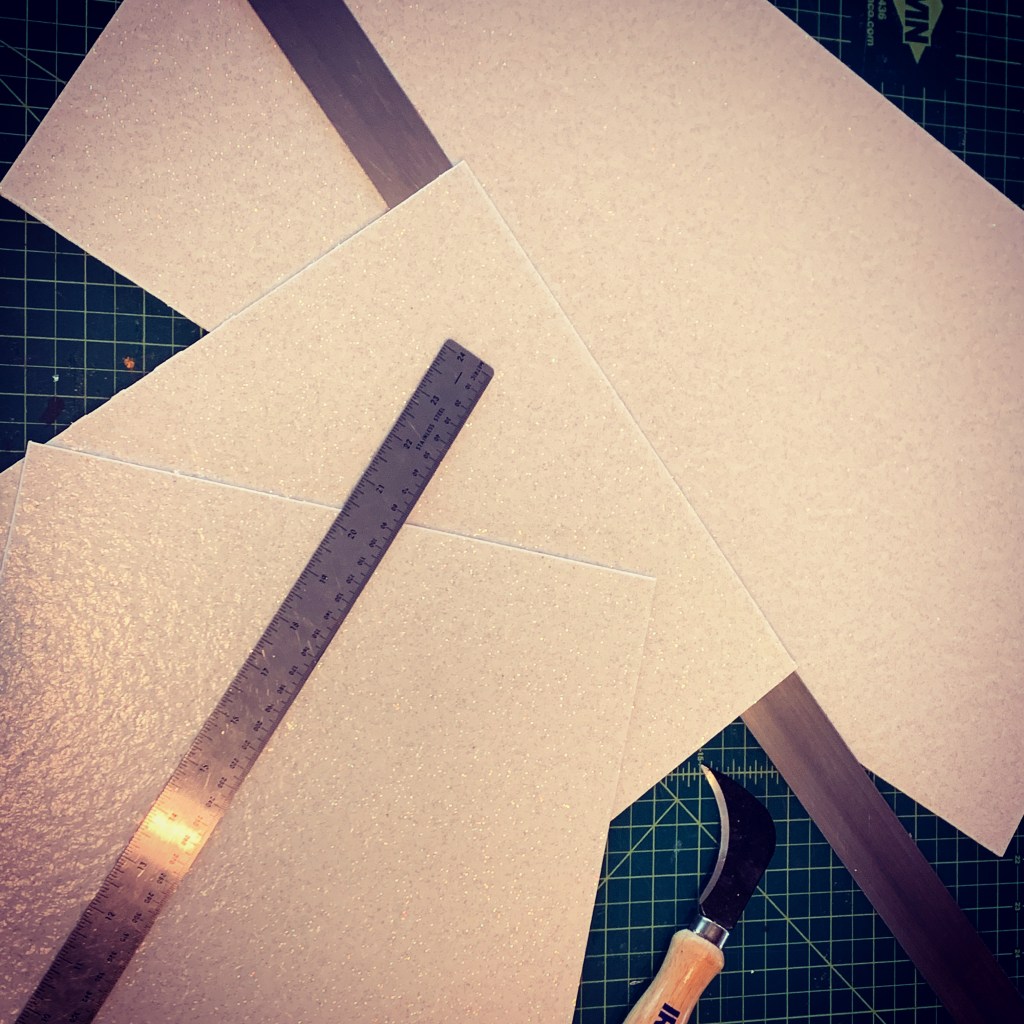
The tiles only come in 24″ squares, which of course is way too big for a camper. So, I had to hand cut every single tile down to 12″ squares. Traditionally floor tiles were 9″ in vintage campers, but I didn’t want to waste that much. I bought this vinyl tile cutting knife on Amazon and went to work!

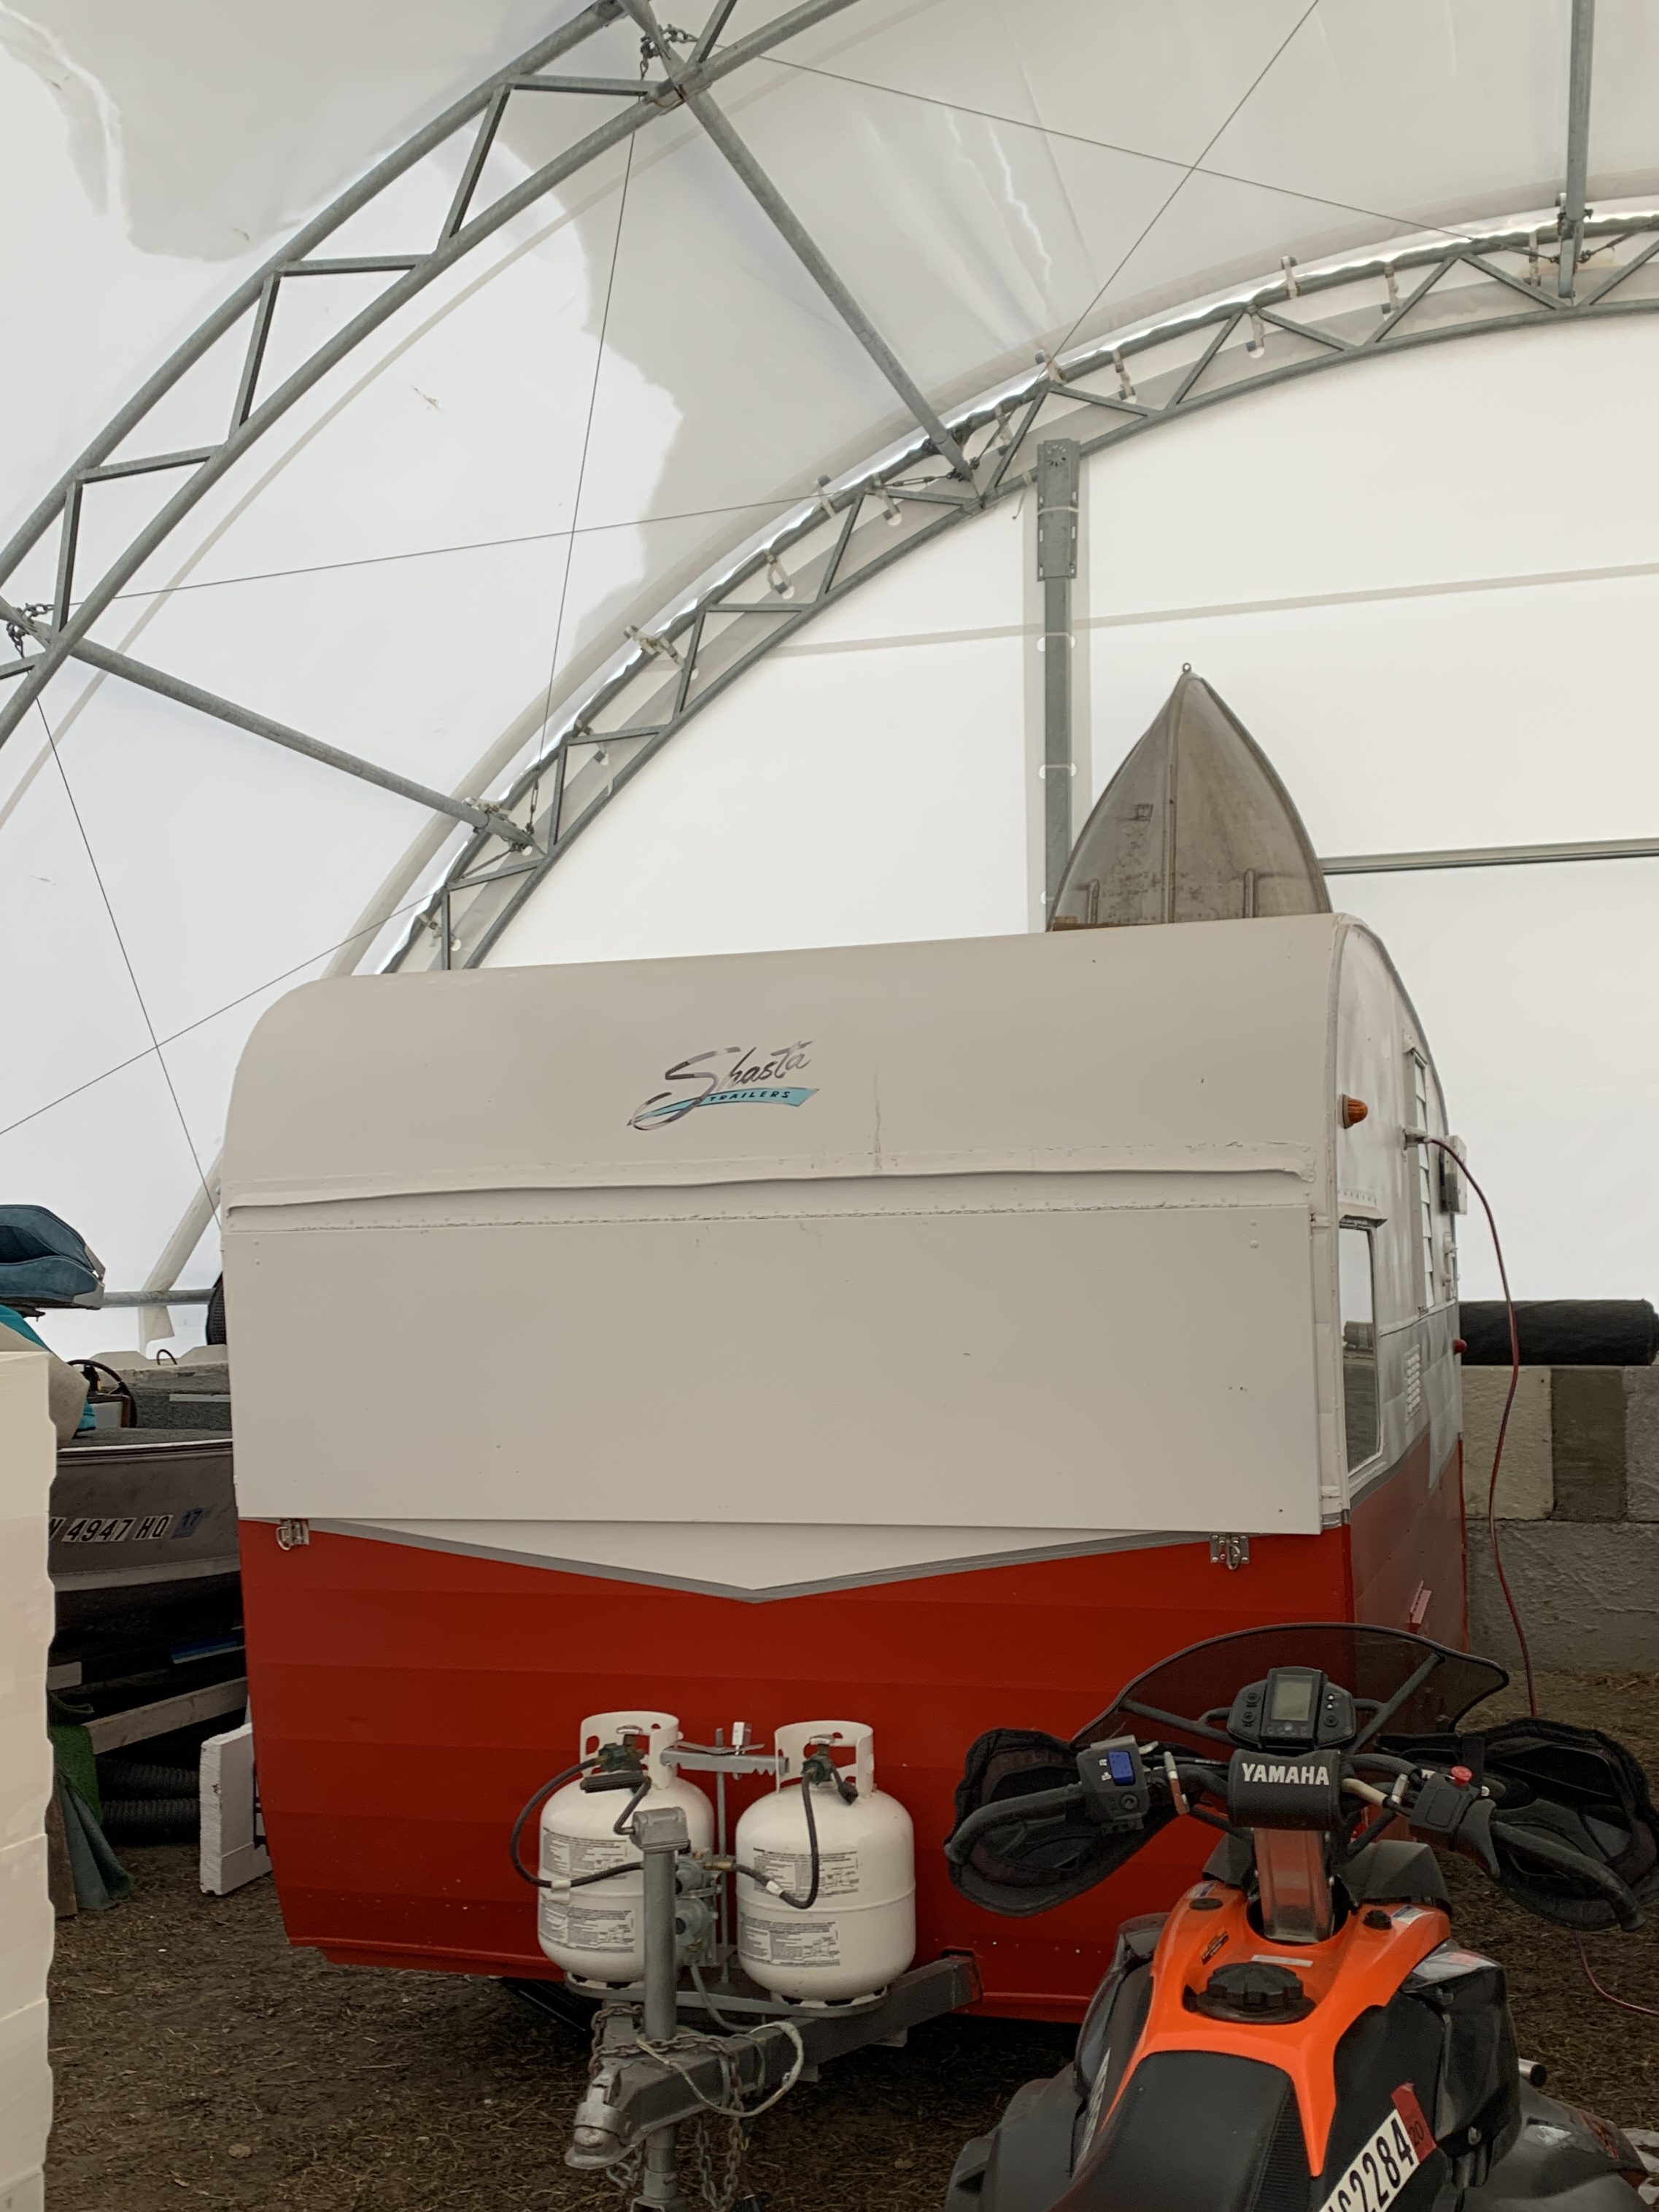
All of this was done in the dead of winter, while the Glamper was tucked away in our friends’ barn. While it was too cold to get the new floor actually in, I was still able to go work in the Glamper on a couple very chilly days with my space heater, and remove the old floor tiles. That way it would at least be ready for the new floor, just as soon as it got warm enough!
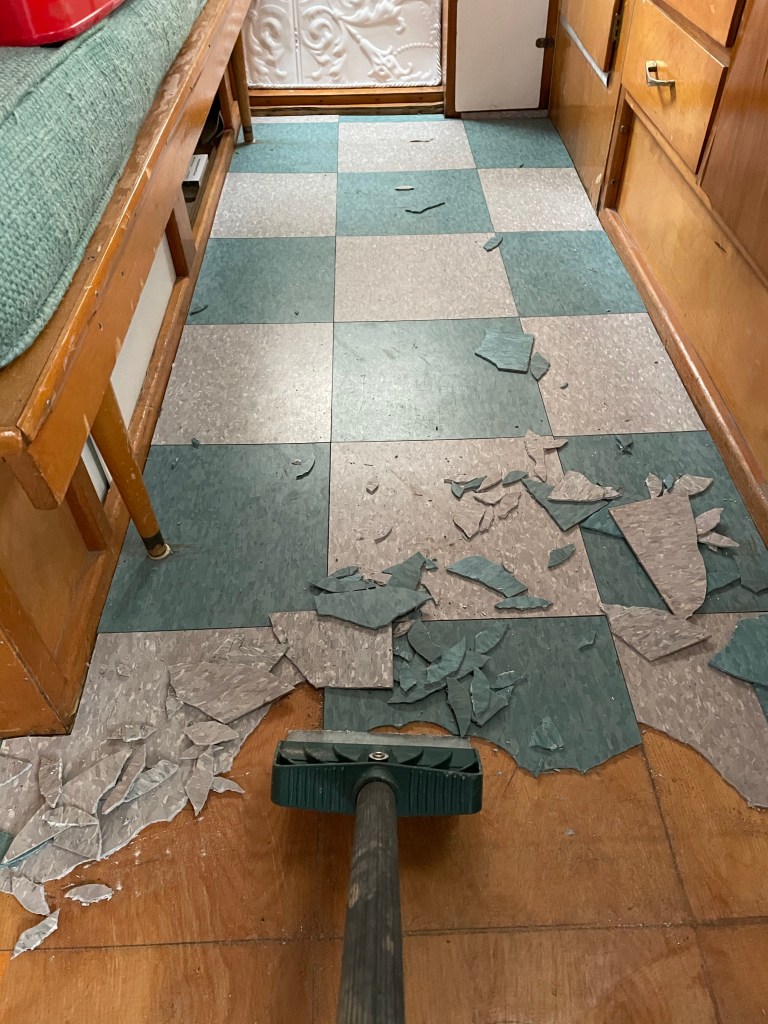
(Mark, if you’r reading this, I’m sorry you have to see this as I know you probably worked hard to put in these nice tiles!! But, being the GLITTER Glamper now, she just HAD to have sparkly, retro, black & white tiles!!) I was able to remove the tiles over two “visits” to the Glamper, around 3-4 hours of total work. I borrowed our friends’ floor scraper which really helped. The floor was of course still tacky, so it was tricky to move around!
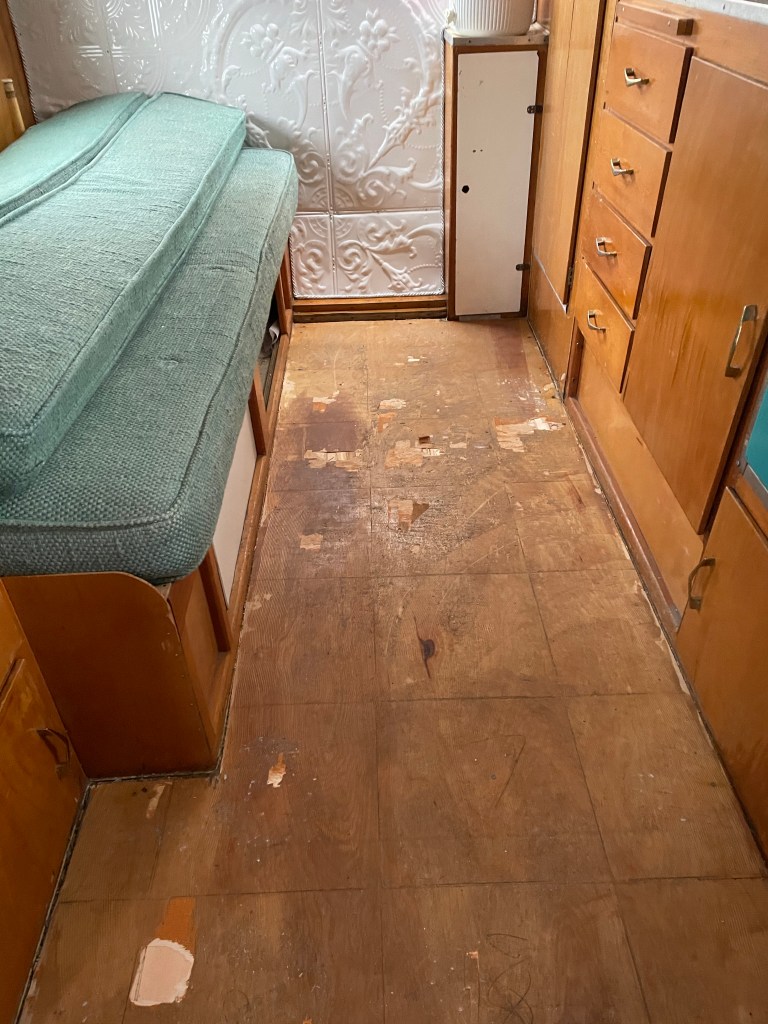
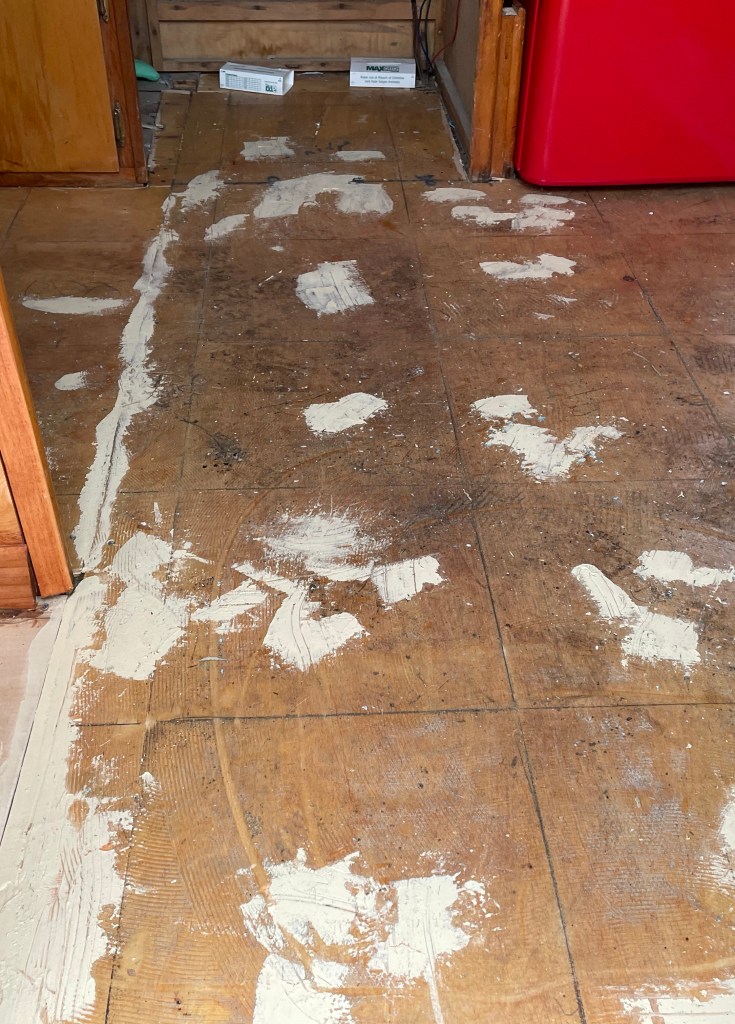
Once I got all the tiles up, I had some patching to do, as some of the tiles brought up splinters of the subfloor with them. I vacuumed it really well, and put down a couple rounds of wood filler, sanding and vacuuming again between rounds, until any little imperfections were smoothed. This was also important to cover the new seams I had created. After removing the dinette, I had to put in a new piece of subfloor, and then also had a spot to fill when I removed the furnace. So, I filled all of those cracks and crevices so I’d have a nice, consistent surface.
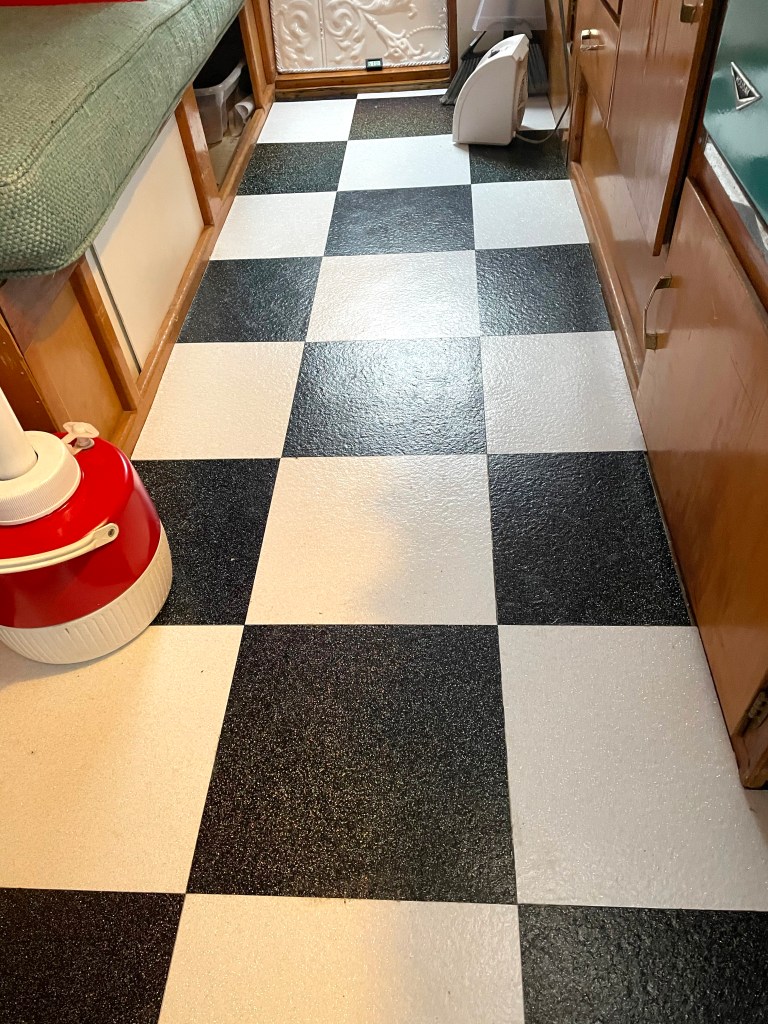
As soon as we were able to get the Glamper out of storage and back in our driveway, and the temperatures were at least above freezing overnight, I started warming up the inside with space heaters. In order for the adhesive to work properly, the floor had to be at least 65 degrees for 48 hours. So, with space heaters and little thermometers around the floor, I got it warmed up and started laying my tiles!
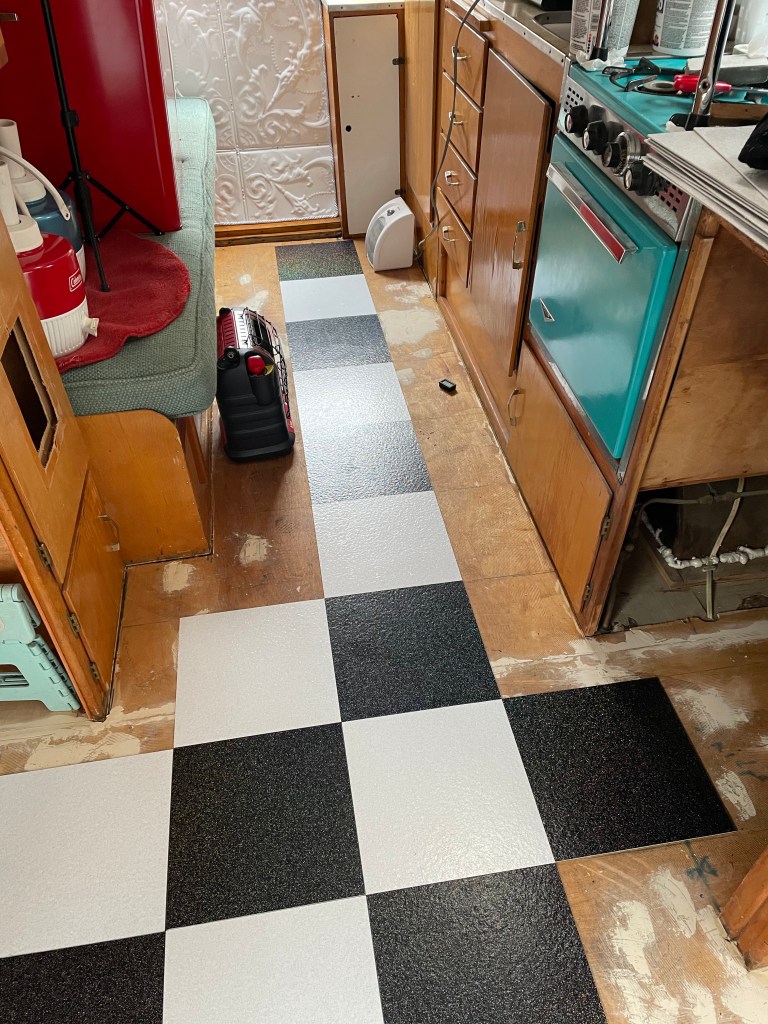
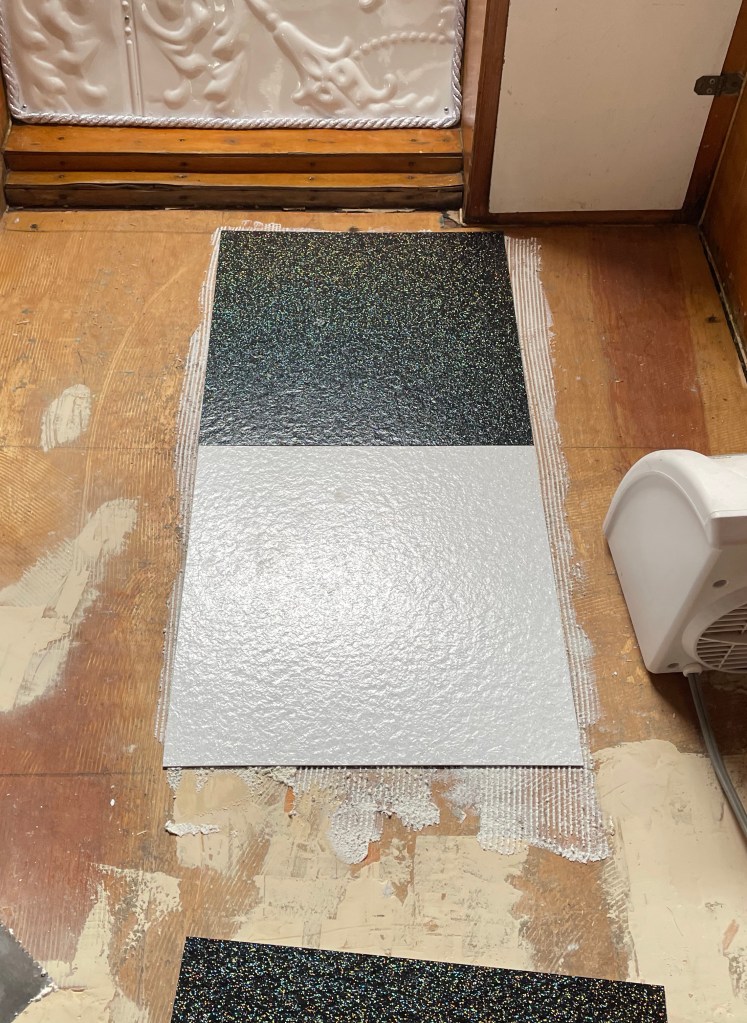
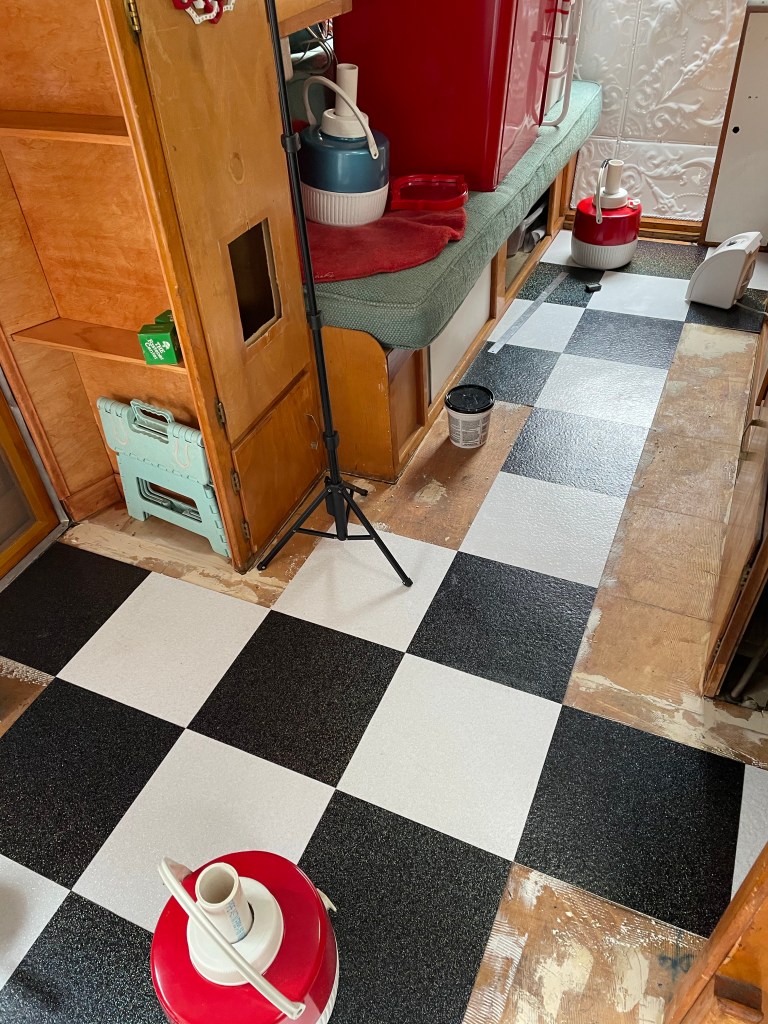
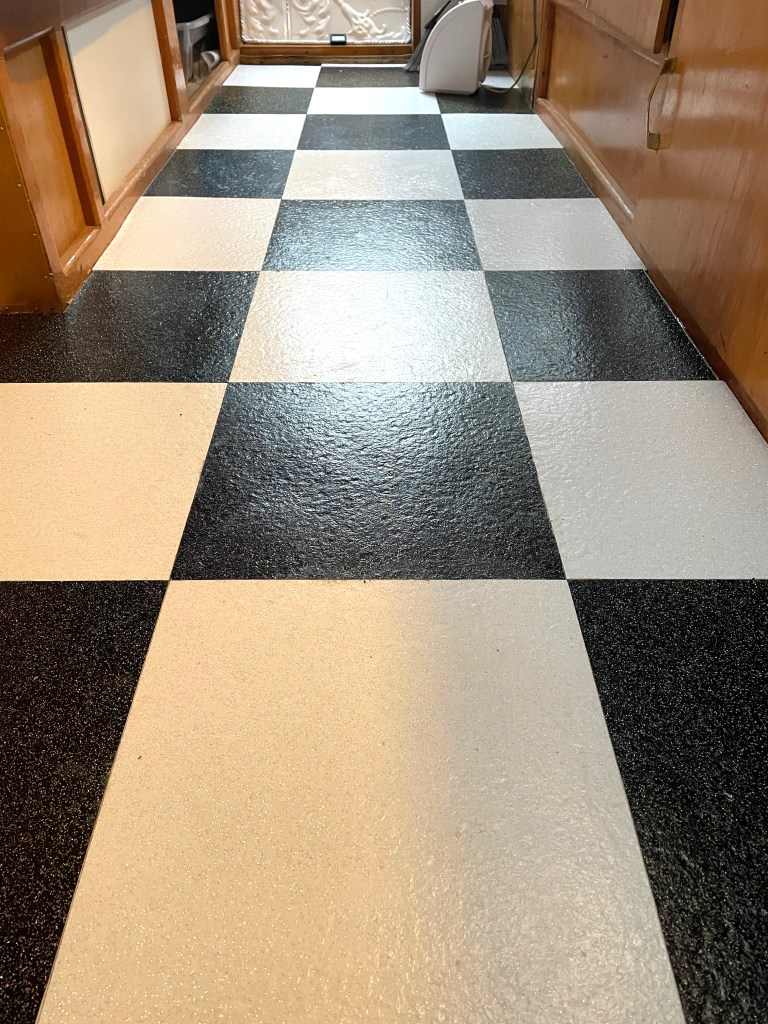
As you can imagine, with the FLOOR being 65 degrees or more, the rest of the trailer was very toasty! It took me about 4 sweaty hours to complete the whole floor. Sadly, I didn’t realize until I opened my 2nd jar of adhesive, that the first jar was really too old…it was more spongy and less liquidy. Grrr!!! Darn you Home Depot!! It was still tacky though, so fingers crossed it will still work. I used the same vinyl cutting tool I cut them all with originally, to do all of the detail work. Then I left it with heaters for the full 48 hours to cure.
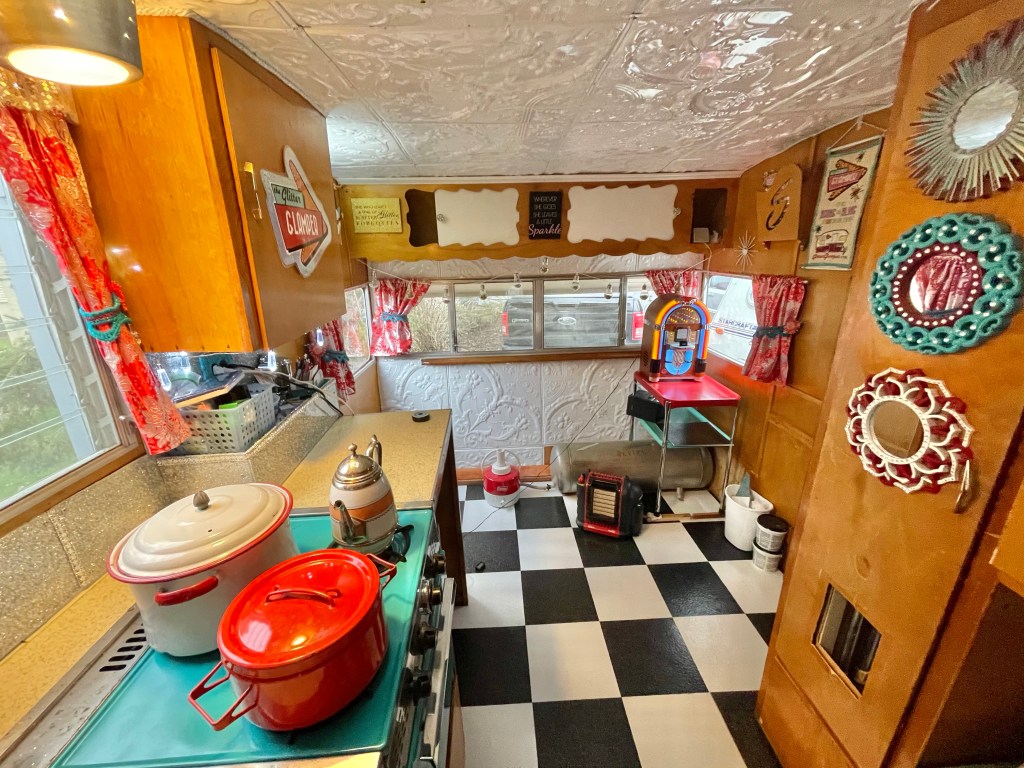
In the end, I think it turned out AWESOME! I think I probably should get some sort of sealant for the tile, but need to research that more. For now it looks great, and with the new floor done, I can now move forward with the work station furniture, re-connecting the plumbing and re-doing all of the electrical!

I really kicked this piece of the project into high gear as I was invited to bring the Glamper to be a part of an event at the State Fairgrounds in May, but then this week was told the dept of health doesn’t think I should be allowed to do my job because I cannot do it from 6 feet away…even though the dept of health also states on their website that salons and body art facilities are allowed to be open and operate. So, alas, Covid seems to have won yet another round, but at least it got me a great kick start on more renovations, and I still hold out hope that she’ll be able to make her debut SOMEWHERE this summer! 😉
Thanks so much for stopping in and stay tuned for more updates as I’m working on things every day!
